
When lost deep in the wilderness, everything poses a challenge. Even once simple things like getting from one point to another become exceedingly difficult. If you’re on heavily forested terrain, the ground is usually uneven and full of obstacles. And if there’s a river in front of you, you would have to walk all the way around to find a path across it. Trudging through that kind of area is often barely worth the effort.
Traversing water, though, tends to be far smoother. In some cases, like being stranded on an island, it’s the only option (save for waiting to get rescued). But swimming will wear you out just as quickly as walking. That’s why, in some scenarios, building a raft or boat of some kind could save your life. But how to build a boat in the wilderness? That’s what you’ll learn about in this guide.
What Materials and Tools Do You Have Available?
How well your boat will fare depends greatly on the materials you have at your disposal. Tools like knives and rope also make the construction process far easier.
As far as materials are concerned, you should naturally look for something that floats. If you’re situated in a forest, there should be plenty of dead branches and logs for you to use. Beware, though, of using too many branches! They may appear to float at first but will soak up water and time, making them sink. Ensure that the wood is dry yet tough enough to support your weight.
If you don’t have trees available, see if there’s anything buoyant you can make do with nearby. To check if it doesn’t go under, throw, or push it into the water and see what happens. If there’s nothing around that does the trick, you probably shouldn’t consider building a raft in the first place.
Tool-wise, having a chopping/cutting weapon goes a long way — a knife, machete, or an ax would be perfect. To connect the materials for the raft, you’ll require a rope or anything similar. And if rope is in short to no supply, you can use vines or the bark of certain plants. You can even make your own cord out of some species of flora (like dogbane).
Do You Even Need a Boat?
Before you get to building, ask yourself if a boat is absolutely necessary for your situation. Creating a raft takes time and effort (some more so than others). What you must determine is whether it’s worth doing in the first place. Maybe it would better suit the occasion to find a better way around the water.
If you’re on an island, however, this question becomes even more pressing and vital. Sometimes, escaping the island becomes your only recourse. But if you opt for that, you expose yourself to massive risk. For example, if your raft isn’t stable enough, it could fall apart miles from shore. In addition, setting out to sea means leaving with a limited supply of food and water for who knows how long. Besides, you can’t make smoke signals for help while you’re at sea.
Nine times out of ten, sailing off on a makeshift raft to seek rescue results in disaster. Nevertheless, it’s always useful to know how to make a seaworthy raft. At least that way you’ll stand a slightly better chance of staying alive.
Building a Log Raft
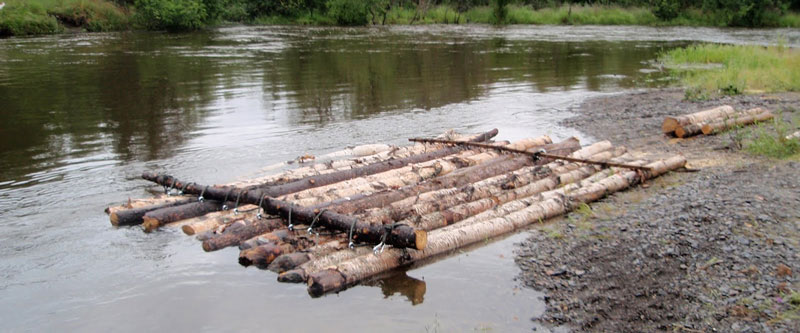
Log rafts are sturdy if you build them properly. Furthermore, their large surface allows you to rest on it entirely, rather than have a part of you submerged. That makes them terrific for longer, more treacherous voyages, especially in cold water.
On the other hand, they weigh a ton, so transporting and building them can cause problems. To remedy that, build them near water (or even in the water, which will make moving the logs easier).
Here’s how you build a log raft:
- Find eight logs around eight feet long and a foot thick. These will comprise the platform you’ll be standing on while on water. If possible, avoid oak because it’s generally heavier and denser. Poplar, cottonwood, and spruce are much better options. Also, acquire two 10-foot-long logs, which will act as connectors. And if you’re putting the raft together with something lighter like bamboo, you’ll need many more pieces of it.
- Cut off any excess branches, stubs, and otherwise sharp/rough surfaces on the logs. They might get in the way when you’re assembling the raft, so they need to go. If you have the time and resources, cut grooves in the eight shorter logs near the ends. Those grooves are for snuggly fitting the other two logs to better hold the raft together.
- Place two 8-foot logs parallel to each other, about six to eight feet apart. Next, place the two longer ones on top of them so that they form a square shape. All of their ends should be sticking out some six inches. As mentioned earlier, gathering them in the water makes the process much easier. You don’t have to go too deep — about ankle-depth.
- Tie the four logs together at the corners. A clove hitch with an overhand knot provides enough sturdiness. If you’re unfamiliar with knotting techniques, do what you can to fasten the logs tightly. Make sure each knot goes around both logs and that the knot is secure.
- Now you may place the other logs parallel to the two 8-foot ones. Tie them to the connector log, keeping the knots tight.
Poncho Raft
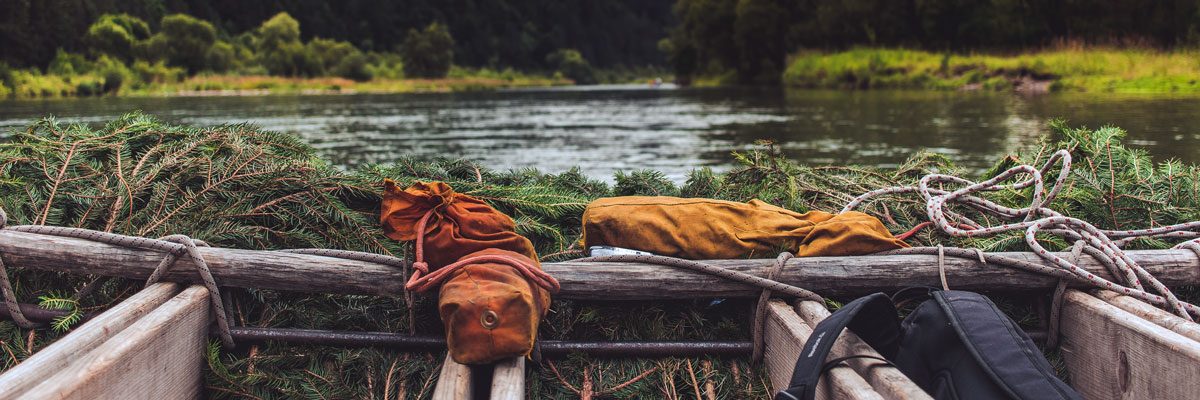
In contrast to their log counterpart, poncho rafts are more portable. However, they aren’t optimal for cold water, as they entail your swimming as you lean on them. Although, they’re more than capable of supporting your gear while crossing a body of water.
You’ll need a few things to fashion this raft for yourself: two ponchos, some brush (fresh and green), rope, and two small saplings or branches. If you lack a poncho, you can utilize something else waterproof, but it will prove more complicated. What you do is:
- Fold the hoods into a poncho.
- Tightly tie the drawstrings so that water cannot seep through the cracks.
- Tie the poncho around its corners and grommets with rope.
- Spread out the other poncho and lay it on the ground (its inside facing upward). You’ll use it later.
- Place the brushes on the first poncho (about 18 inches of it will do).
- Pull the drawstring of the hood across the brushes.
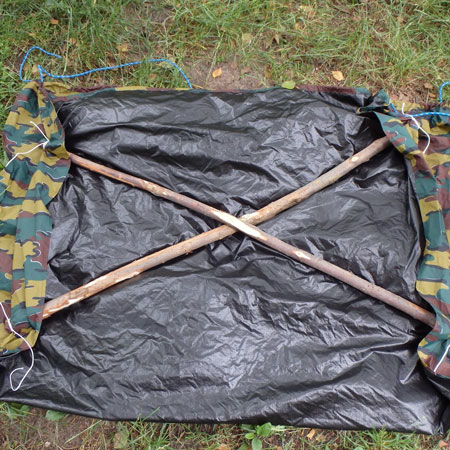
- Lay the two saplings down in an X pattern across the brushes and fasten them using drawstrings.
- Add another 18 inches of brushes on top of that, compressing it well.
- Wrap all the brushes and sapling support with the poncho and tie it up securely.
- Place this on the spread-out poncho, placing the tied-up side face down.
- Tie the second poncho around the first.
Wrap-Up
With this guide, you’ll be more than well prepared to assemble a buoyant platform to safely whisk you across rivers and other such bodies of water. In the gravest of situations, it will even take you far away from the shoreline. Of course, the best advice we could give you is to take every precaution needed to prevent having to resort to building anything! Whatever the case may be, you’ll now know what the best course is for ensuring your survival.